How to Clean a Flat Painted Wall
- Staff Desk
- May 9
- 5 min read


How to Clean a Flat Painted Wall
Before diving into the cleaning process, it's crucial to understand what flat paint is and why it requires a specific approach. Flat paint, also known as matte paint, has a non-reflective finish that conceals surface imperfections and gives a smooth appearance. However, this lack of sheen also means that the paint does not repel stains and dirt as effectively as gloss or semi-gloss finishes. Consequently, cleaning flat painted walls requires a gentle touch and the right techniques.
Characteristics of Flat Paint
Flat paint is often chosen for its ability to hide surface imperfections, making it an excellent choice for older walls or ceilings with dents or dings. Its matte finish absorbs light rather than reflecting it, which can provide a more uniform look in a room. While it is aesthetically pleasing, the absorbent nature of flat paint can make it prone to holding onto dirt and grime, necessitating careful maintenance.
The Challenges of Cleaning Flat Paint
The biggest challenge with flat paint is avoiding damage during the cleaning process. Unlike gloss finishes, which can withstand more vigorous cleaning, flat paint can easily be marred or discolored by harsh scrubbing or abrasive substances. This sensitivity demands a more cautious approach, using soft materials and gentle cleaning agents to preserve the paint's appearance.
Why Flat Paint is Popular
Despite its cleaning challenges, flat paint remains a popular choice due to its aesthetic appeal and ability to mask imperfections. Many homeowners appreciate the subtle elegance that flat paint brings to a room. It's often used in spaces where a soft, refined look is desired, such as living rooms, dining areas, or bedrooms.
Gather Your Cleaning Supplies

Before you begin cleaning, gather the necessary supplies. Having everything on hand will make the process more efficient and prevent unnecessary damage to the paint.
Essential Cleaning Tools
Soft sponge or microfiber cloth: These materials are gentle and less likely to scratch or damage the paint surface. Microfiber cloths, in particular, are excellent at picking up dust and dirt without the need for harsh chemicals.
Bucket: For mixing cleaning solutions, a bucket is a must-have. It helps in keeping the cleaning solution consistent and prevents over-saturation of your cleaning cloth.
Mild detergent or dish soap: Choose a gentle formula to avoid harming the paint. Mild detergents are effective at breaking down dirt and grime without stripping the paint of its finish.
Warm water: Essential for creating your cleaning solution. Warm water helps to dissolve soap and activate its cleaning properties.
White vinegar: A natural cleaning agent that can help tackle stubborn stains. It's a great alternative for those who prefer eco-friendly cleaning solutions.
Vacuum cleaner with a brush attachment: Useful for removing dust before washing the walls. This helps in preventing the dirt from becoming embedded in the paint when wet.
Optional Additions
Baking Soda: For particularly stubborn stains, a paste of baking soda and water can provide gentle abrasion without damaging the paint.
Rubber gloves: Protect your hands from any irritation caused by cleaning solutions.
Stepladder: If you have high walls, a stepladder can help you reach those upper areas safely and effectively.
Cleaning the Wall
Once you've prepared your wall and tested your solution, it's time to start cleaning.
Step 1: Mix Your Cleaning Solution
In a bucket, mix warm water with a few drops of mild detergent or dish soap. Alternatively, create a solution of equal parts water and white vinegar for a natural cleaning option. Avoid using harsh chemicals or abrasive cleaners, as they can damage flat paint. Always make sure the solution is well mixed to ensure even cleaning.
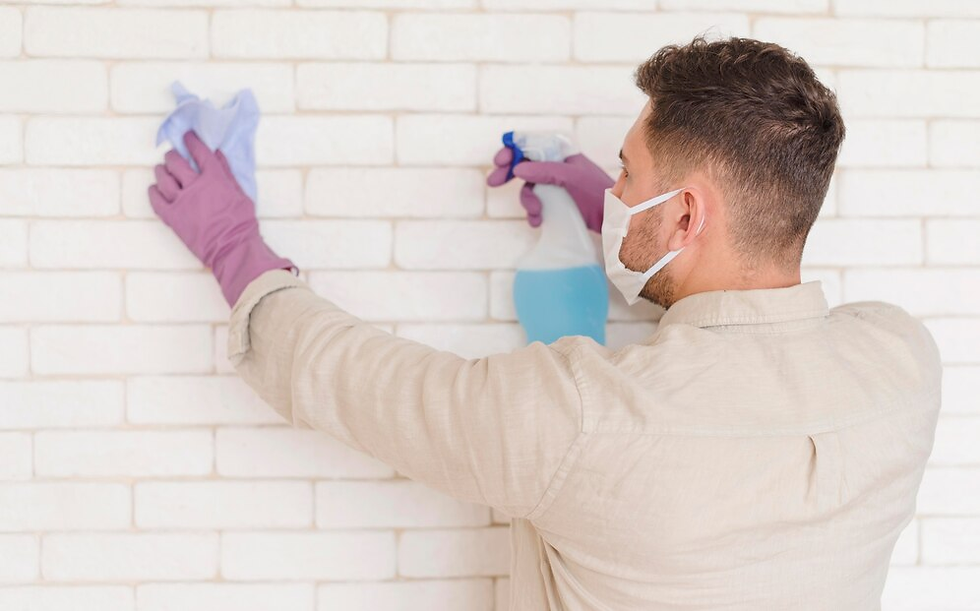
Step 2: Gently Wipe the Wall
Dip your sponge or cloth into the cleaning solution, then wring it out thoroughly. You want the cloth to be damp, not soaking wet, to avoid water damage. Gently wipe the wall in a circular motion, starting from the top and working your way down. This prevents dirty water from dripping onto areas you've already cleaned. If needed, rinse your cloth frequently to avoid spreading dirt.
Step 3: Address Stubborn Stains
For tougher stains, apply a bit more pressure with your sponge or cloth, but be cautious not to scrub too hard. If the stain persists, try using the vinegar solution. Remember to rinse the area with clean water afterwards to remove any residue. You can also try a paste of baking soda and water for gentle abrasion on particularly stubborn spots.
Step 4: Dry the Wall
After cleaning, use a dry microfiber cloth to gently pat the wall dry. Avoid leaving excess moisture on the surface, as this can damage the paint over time. Drying the wall also prevents water spots and streaks, maintaining the clean look of your walls. For best results, work in sections to ensure the entire wall is thoroughly dried.
When to Repaint
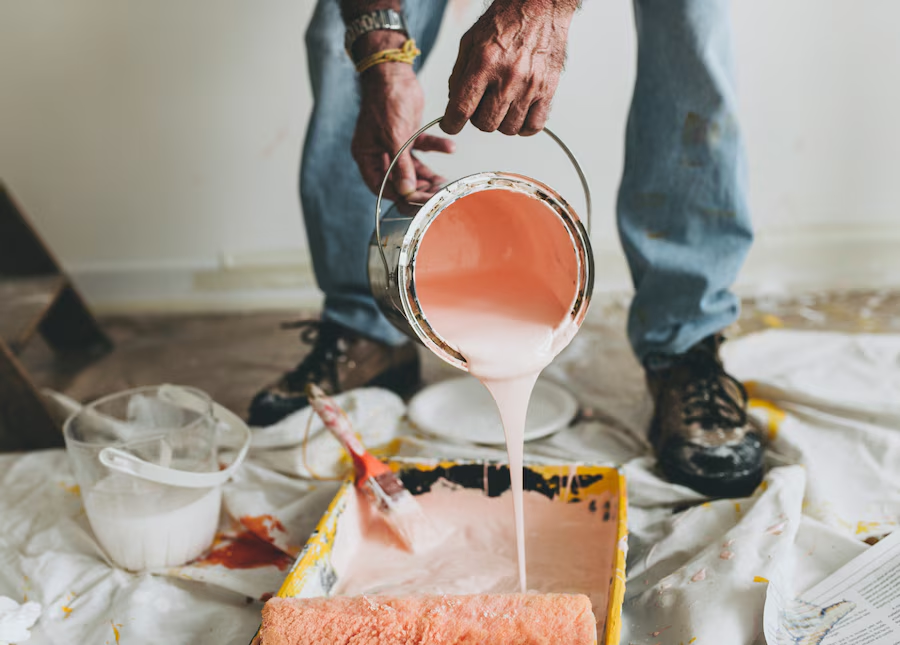
If your walls are heavily stained or damaged, it might be time to consider repainting. Flat paint is less forgiving of repeated cleaning, and over time, it may lose its luster and uniform appearance. When repainting, consider using a high-quality flat paint that is more durable and easier to clean.
Signs It's Time to Repaint
Look for areas where the paint is peeling, discolored, or has lost its finish. Frequent cleaning can lead to these signs of wear, indicating that a fresh coat of paint might be needed. Repainting not only refreshes the look of your home but also provides an opportunity to address any underlying issues.
Choosing the Right Paint
When selecting a new paint, consider products specifically designed for durability and easy cleaning. Some flat paints are formulated to resist stains and are more washable, providing a better balance between aesthetics and maintenance. Investing in high-quality paint can prolong the time between necessary touch-ups or repaints.
Professional Help
If you're unsure about tackling a repainting project yourself, consider hiring a professional. They can provide expert advice on paint selection and ensure a flawless finish. Professional painters also have the tools and experience to complete the job efficiently, saving you time and hassle.
Conclusion
Cleaning flat painted walls doesn't have to be a daunting task. With the right tools and techniques, you can keep your walls looking fresh and inviting. Remember to be gentle and patient, and always test your cleaning solutions before applying them to large areas. By following these guidelines, your flat painted walls will maintain their beauty and elegance for years to come.
Recap of Key Steps
Start by understanding the nature of flat paint and gathering the appropriate supplies. Prepare the wall by dusting and testing your cleaning solution. Clean gently with a mild detergent or vinegar solution, and ensure the wall is thoroughly dried. Regular maintenance and timely repainting can keep your walls looking pristine.
Encouragement for Homeowners
With patience and care, maintaining flat painted walls can become a manageable part of your home care routine. Embrace the process as an opportunity to enhance your living space and take pride in the results. Clean walls contribute to a pleasant and welcoming environment for you and your guests.
Future-Proofing Your Walls
Consider incorporating these cleaning techniques into your regular home maintenance schedule. By doing so, you not only preserve the appearance of your walls but also extend their lifespan. A little effort now can save you time and resources in the long run, ensuring your home remains a beautiful and comfortable space.


Comments