How to Fix an Outdoor Water Spigot
- DreamDen AI Editorial Team
- May 12, 2025
- 6 min read

How to Fix an Outdoor Water Spigot
Before diving into the repairs, it's essential to identify the underlying issue with your outdoor water spigot. Understanding the problem helps in choosing the right approach to fix it.
Leaking Spigot
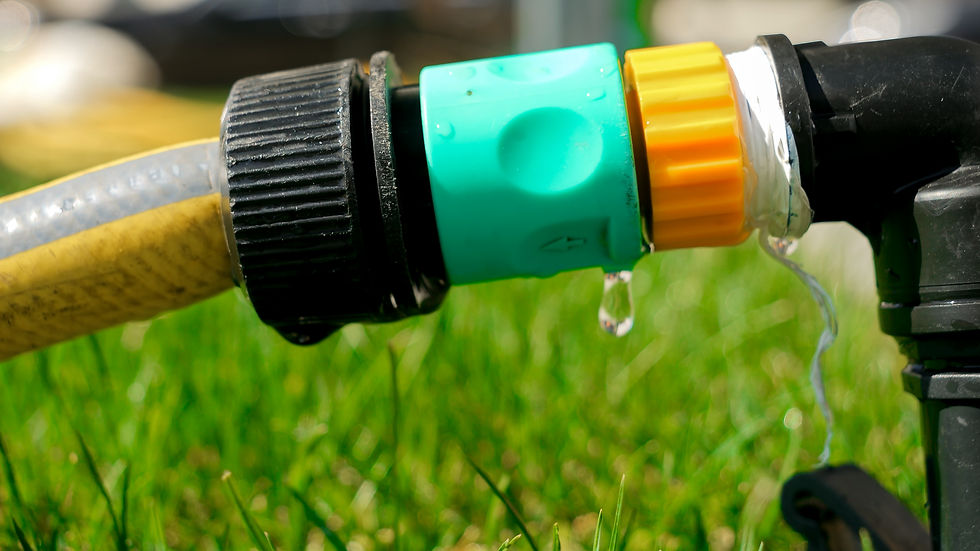
A leaking spigot is the most prevalent issue homeowners face. Leaks often occur around the handle or the spout, primarily due to worn-out washers or seals. Over time, these components degrade, leading to water seepage. Identifying the source of the leak is crucial as it directs you to the specific part that needs attention. Regular inspection can help catch these problems early, preventing more significant water wastage.
Stiff Handle
A spigot handle that becomes difficult to turn can be attributed to mineral deposits building up over time. These deposits can cause resistance, making the handle hard to operate. Addressing this involves cleaning or lubricating the internal components. It's a relatively simple fix but requires patience and care to ensure all deposits are effectively removed.
Continuous Drip
A spigot that drips even when turned off usually indicates a faulty washer. This is a common problem in older spigots where the washer has worn down. Replacing the washer is often a straightforward task, but it's essential to ensure the new washer is the correct size and type for your spigot. This will prevent further dripping and conserve water.
Broken or Damaged Parts
Sometimes, physical damage or wear and tear may necessitate the replacement of parts. This could include cracked handles, damaged spouts, or corroded components. Replacing these parts might seem daunting, but with the correct tools and instructions, it can be a smooth process. Understanding the specific part that needs replacement ensures you purchase the right component.
Tools and Materials You'll Need
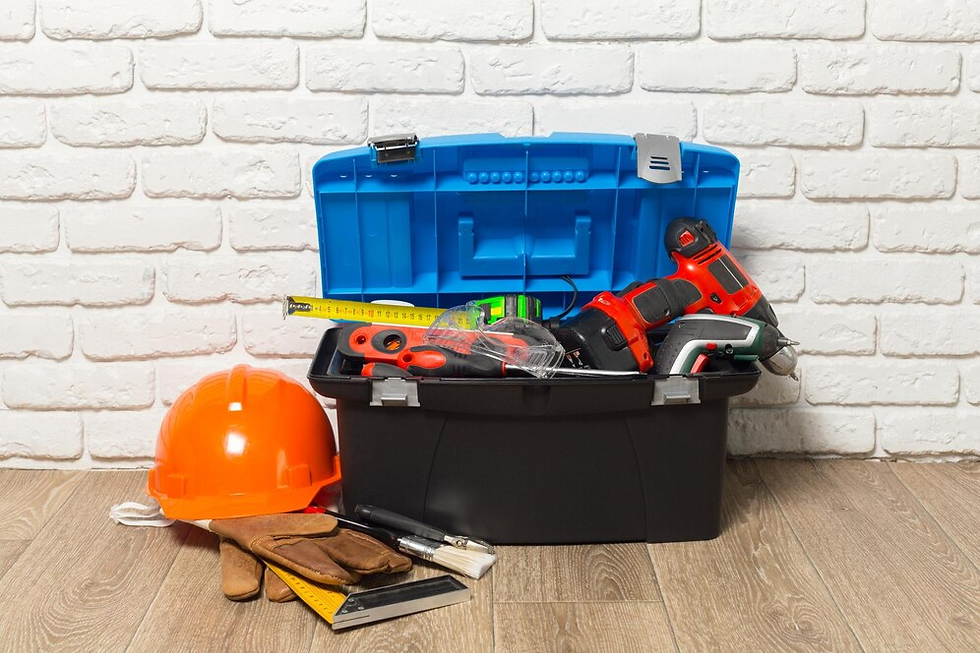
Equipping yourself with the right tools and materials is crucial for a successful repair. Here's a comprehensive list of what you'll need:
Essential Tools
An adjustable wrench is a versatile tool for loosening and tightening nuts and bolts. A screwdriver, preferably with interchangeable heads, is necessary for handling various screws. Pliers are essential for gripping and turning, particularly when dealing with stubborn parts. These tools form the core of your repair kit and are indispensable for most plumbing tasks.
Replacement Components
Replacement washers and seals are vital for addressing leaks and drips. It's important to have a variety of sizes on hand, as different spigots may require different specifications. Plumber's tape is used to ensure a watertight seal on threaded connections. Keeping these components ready can save time during the repair process.
Additional Supplies
Lubricant, such as WD-40, is useful for loosening stuck parts and reducing friction. A bucket or towel will help manage water spillage during the repair. If your spigot is beyond repair, having a replacement spigot ready is advisable. These additional supplies ensure that you are prepared for any eventuality during the repair.
How to Repair a Leaking Outdoor Spigot
Addressing a leaking spigot involves several steps. Following these carefully will help you achieve a successful repair.
Step 1: Turn Off the Water Supply
Before starting any repair, it's crucial to turn off the water supply to the spigot. This is typically done by shutting off the valve inside your house that controls the water flow to the outdoor faucet. Ensuring the water is off prevents any unexpected flooding during the repair process. It's a simple but vital step that sets the stage for a smooth repair.
Step 2: Disassemble the Spigot
Use an adjustable wrench to unscrew the packing nut located behind the spigot handle. Once removed, gently pull the handle off the spigot, exposing the valve stem. This step requires careful handling to avoid damaging any components. Disassembling the spigot provides access to the internal parts that need attention.
Step 3: Replace the Washer
Check the washer at the end of the valve stem. If it's worn or damaged, replace it with a new one. Ensure the replacement washer is the same size for a proper fit. This step is crucial as the washer often causes leaks. Taking the time to find the correct washer will prevent future issues.
Step 4: Inspect and Replace the Packing Nut Seal
The packing nut seal can also wear out, causing leaks around the handle. Replace this seal if necessary, wrapping plumber's tape around the threads for a better seal. This step enhances the durability of the repair by ensuring a tight, leak-free connection. Proper sealing is essential for preventing water wastage.
Step 5: Reassemble the Spigot
Reattach the handle and screw the packing nut back in place. Tighten it with the wrench, but be careful not to over-tighten. Over-tightening can damage components or make future repairs difficult. Ensuring everything is securely fastened is key to a successful repair.
Step 6: Turn the Water Supply Back On
Once the spigot is reassembled, turn the water supply back on and check for leaks. If the spigot is still leaking, you may need to replace the entire spigot. Testing the repair under normal conditions is essential for confirming the problem is resolved. Address any persisting issues promptly to prevent further complications.
How to Fix a Stiff Outdoor Spigot Handle
Addressing a stiff spigot handle involves a few straightforward steps that can restore smooth operation.
Step 1: Remove the Handle
Remove the handle by unscrewing the packing nut and pulling the handle off the valve stem. This provides access to the parts requiring lubrication. Careful removal prevents damage to the components, setting the stage for effective treatment.
Step 2: Apply Lubricant
Spray lubricant on the valve stem and work it back and forth to loosen any mineral buildup. This should make the handle easier to turn. The lubricant helps dissolve deposits and reduce friction, improving the handle's operation. Regular lubrication can prevent future stiffness.
Step 3: Reattach the Handle
Once the handle moves smoothly, reattach it and secure the packing nut. Ensuring the handle is properly aligned and secured is crucial for seamless operation. Testing the handle after reattachment confirms the success of the repair.
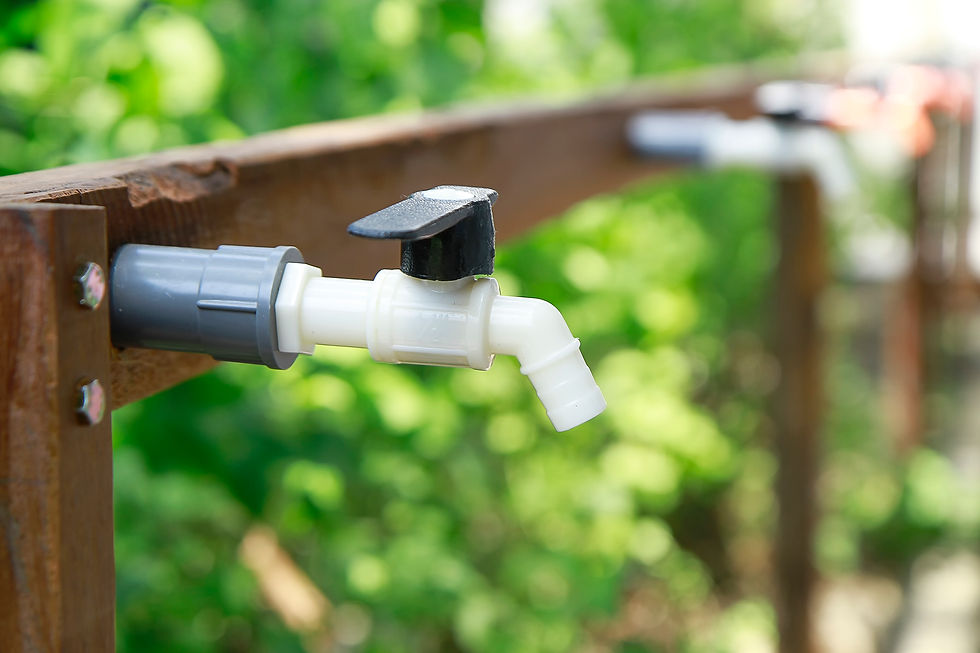
Replacing a Damaged Outdoor Spigot

If your spigot is too damaged to repair, replacing it entirely is the best course of action. Here's how to do it:
Step 1: Remove the Old Spigot
Use an adjustable wrench to unscrew the spigot from the water supply pipe. Be cautious not to damage the pipe. This step requires careful handling to prevent unnecessary complications. Proper removal is key to a successful replacement.
Step 2: Prepare the New Spigot
Wrap plumber's tape around the threads of the new spigot to ensure a watertight seal. This step is crucial for preventing leaks in the new installation. Proper preparation sets the foundation for a durable and leak-free connection.
Step 3: Attach the New Spigot
Screw the new spigot onto the water supply pipe by hand, then tighten it with the wrench. Again, be careful not to over-tighten. Ensuring a secure yet gentle fit is essential for maintaining the integrity of the connection. Proper attachment prevents future issues.
Step 4: Test for Leaks
Turn on the water supply and test the new spigot for leaks. If it leaks, ensure that the connections are tight and the plumber's tape is properly applied. Testing under normal conditions confirms the effectiveness of the installation. Address any leaks promptly to maintain efficiency.
Maintenance Tips for Your Outdoor Spigot

To prolong the life of your outdoor water spigot and reduce the need for future repairs, follow these maintenance tips:
Regularly Check for Leaks
Periodically check your spigot for leaks and address any issues promptly. Regular inspections catch problems early, preventing more significant issues. Consistent monitoring is a proactive approach to maintaining your spigot.
Insulate During Winter
In colder climates, insulate your outdoor spigot during the winter months to prevent freezing and bursting. Proper insulation protects your spigot from harsh weather, extending its lifespan. Preparing for winter is crucial for preventing damage.
Routine Lubrication
Apply lubricant to the valve stem occasionally to keep it turning smoothly. Regular lubrication prevents stiffness and prolongs the component's life. Consistent care ensures your spigot remains in optimal condition.
Conclusion
Repairing an outdoor water spigot is a manageable DIY project that can save you time and money. Whether you're dealing with a leak, a stiff handle, or a broken part, you now have the knowledge and tools to address these issues. Regular maintenance will help keep your spigot in good working condition, ensuring a steady supply of water for your outdoor needs. Remember, when in doubt, consult a professional plumber to ensure the repair is done correctly.
By following these steps, you'll be able to fix your outdoor water spigot and maintain it for years to come. Happy plumbing!


Comments