How to Prepare a Wall for Paint
- DreamDen AI Editorial Team
- May 6, 2025
- 6 min read


Proper wall preparation is essential for several reasons. It helps the paint adhere better, reduces the likelihood of peeling or cracking, and ensures a smooth, even finish. Without proper preparation, you may find yourself with uneven coverage and a less than satisfactory result.
Ensuring Paint Adhesion
Proper wall preparation is the foundation of any successful painting project. When a wall is not adequately prepped, the paint may not stick effectively. This could lead to peeling and flaking, often requiring additional time and resources to fix. By ensuring that the surface is clean and primed, you significantly increase the adhesion of the paint, resulting in a longer-lasting finish.
Preventing Surface Imperfections
Another critical reason for thorough preparation is to prevent imperfections from marring the final look. Painting over a wall with cracks, holes, or rough patches will lead to a bumpy and uneven appearance. Addressing these issues during the prep stage helps in achieving a flawless finish, which enhances the aesthetic appeal of your room.
Enhancing Longevity and Durability
A well-prepared wall not only looks good but also ensures the durability of the paint job. Proper preparation, including cleaning, repairing, and priming, creates a barrier that protects the wall from moisture and environmental damage. This step is crucial for maintaining the vibrancy and durability of the paint over time, reducing the frequency of repainting.
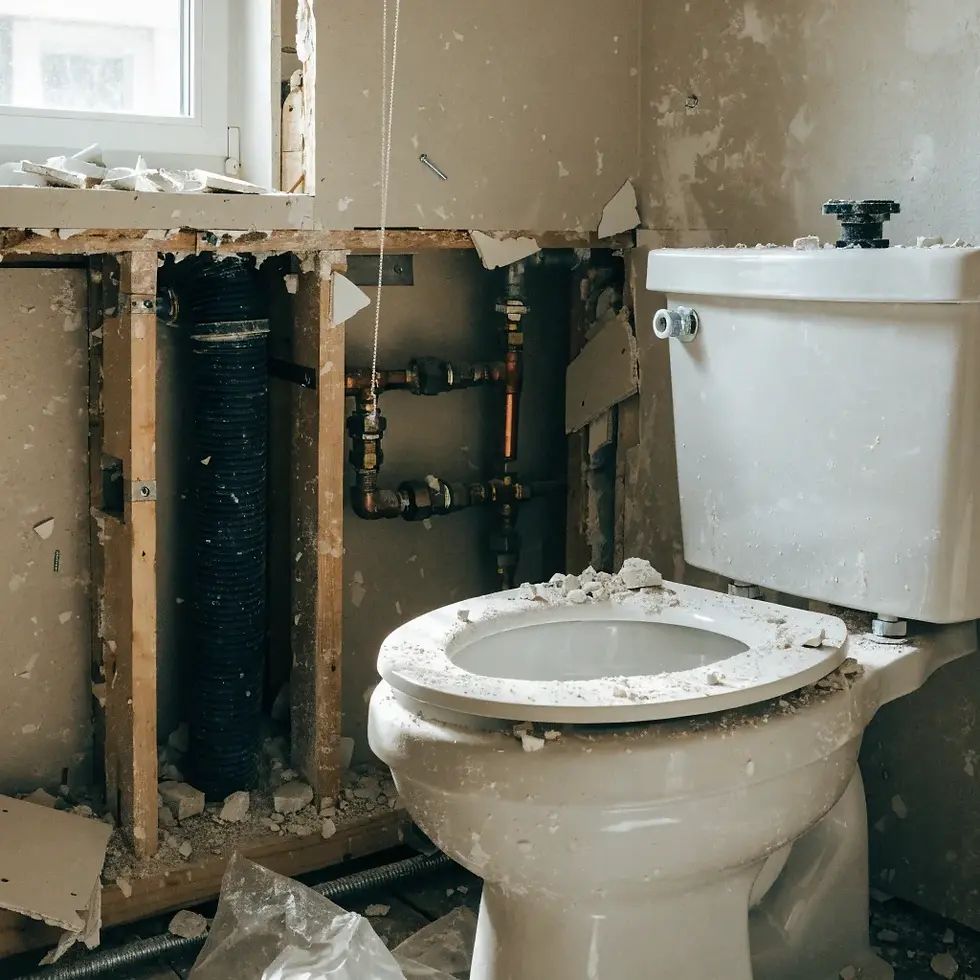
Initial Wall Assessment

Before diving into the preparation process, start by assessing the condition of your wall. Look for any imperfections such as holes, cracks, or peeling paint. If the wall was previously wallpapered, check for any remnants of wallpaper or adhesive that need to be removed.
Identifying Surface Flaws
Begin your wall assessment by closely examining the surface for any visible flaws. Small cracks, holes, or peeling areas can often be found upon closer inspection. Use a flashlight to highlight these imperfections, as they can cast shadows that reveal problem areas. Identifying these issues early allows you to plan the necessary repairs effectively.
Understanding Previous Wall Treatments
Understanding the wall's history can provide insights into the preparation required. If the wall was previously wallpapered, remnants of adhesive or small tears might be present. Similarly, if it was painted, check for the type of paint used, as some paints may require specific primers or treatments before repainting. This understanding helps in selecting the appropriate materials and techniques for preparation.
Evaluating Moisture Issues
Moisture is a common culprit in wall damage, leading to bubbling, peeling, and mold growth. During your assessment, check for any signs of water damage or mold, especially in areas near windows, doors, or plumbing fixtures. Moisture issues must be addressed before painting to prevent future damage and ensure the longevity of your paint job.
How to Prepare a Wall for Paint After Removing Wallpaper

If you've just removed wallpaper, there are additional steps to ensure a clean surface for painting:
Step 1: Remove Adhesive Residue
After removing the wallpaper, use a solution of warm water and mild detergent to clean off any adhesive residue. A sponge or cloth will help to scrub away stubborn spots.
Tackling Stubborn Residue
Adhesive residue can be particularly stubborn, clinging to the wall even after wallpaper removal. To effectively tackle these residues, employ a mixture of warm water and mild detergent, applying it generously with a sponge. For areas that resist cleaning, consider using a specialized adhesive remover that gently breaks down the residue without harming the wall surface.
Testing Cleaners on Surfaces
Before applying any cleaning solution extensively, it’s wise to conduct a patch test on a small, inconspicuous area of the wall. This ensures that the cleaner will not damage or discolor the wall surface. Once verified safe, proceed with cleaning the entire area to ensure all adhesive residues are thoroughly removed.
Ensuring a Clean Finish
After scrubbing away the residue, rinse the wall with clean water to remove any remaining detergent. Use a clean cloth to wipe away excess moisture and allow the wall to dry completely. This ensures that the wall is free of contaminants and ready for the next steps in the preparation process.
Step 2: Check for Damage
Removing wallpaper can sometimes reveal damage or imperfections. Inspect the wall carefully and repair any issues as described in the earlier steps.
Identifying Hidden Flaws
Once the wallpaper is removed, closely inspect the wall for hidden flaws such as small tears, dents, or cracks. These issues may have been masked by the wallpaper and require attention before painting. Using a flashlight can help highlight imperfections that are not immediately visible.
Repairing Newly Exposed Damage
Address any newly exposed damage promptly using the appropriate materials, such as spackle for small holes or patch compound for larger repairs. Follow the repair techniques mentioned earlier to ensure a smooth and even surface. Allow repairs to dry completely and sand as necessary to integrate seamlessly with the rest of the wall.
Reinforcing Weak Spots
In some cases, wallpaper removal may reveal areas of the wall that are weak or compromised. These areas may need additional reinforcement, such as adding a layer of joint compound to stabilize the surface. Reinforcing these weak spots ensures that the wall remains durable and ready for a lasting paint job.
Step 3: Sanding and Priming
Sand the wall to remove any remaining adhesive texture and to ensure smoothness. Then, apply a coat of primer to prepare the surface for painting.
Achieving a Smooth Surface
Sanding is essential to remove any residual texture left by adhesive or wallpaper. Use fine-grit sandpaper to gently smooth the wall, focusing on areas where adhesive was most prevalent. This step ensures a smooth and even surface that will allow the primer and paint to adhere properly.
Selecting the Appropriate Primer
For walls that have undergone extensive preparation, choosing the right primer is crucial. Consider using a high-quality primer that is specifically designed for surfaces that have been wallpapered. This type of primer will effectively seal the wall, block any remaining stains, and provide a consistent base for the paint.
Applying Primer for Optimal Results
Apply the primer with care, using a brush or roller to ensure even coverage. Start at the top of the wall and work your way down, applying thin, uniform coats. Allow each coat to dry completely according to the manufacturer's instructions before applying the next. Proper priming sets the stage for a beautiful and durable paint finish.
Final Tips for a Professional Finish

Use Quality Paint and Brushes: Investing in high-quality paint and brushes can make a significant difference in the final look and durability of your paint job.
Apply Multiple Coats: Depending on the color and type of paint, you may need to apply more than one coat. Allow each coat to dry completely before applying the next.
Maintain Proper Ventilation: Ensure your workspace is well-ventilated to avoid inhaling fumes and to help the paint dry faster.
Investing in Quality Materials
The quality of your paint and brushes directly impacts the final result of your painting project. High-quality paints provide better coverage, richer colors, and improved durability. Similarly, investing in good brushes or rollers ensures smoother application and minimizes the risk of streaks or uneven finishes. This investment ultimately enhances the overall aesthetic and longevity of your work.
Importance of Multiple Coats
Applying multiple coats of paint is often necessary to achieve the desired depth of color and evenness. While it might be tempting to rush through the painting process, allowing each coat to dry completely before applying the next is crucial. This approach prevents smudging, peeling, and uneven texture, resulting in a flawless finish that highlights the beauty of your space.
Ensuring Adequate Ventilation
Proper ventilation is vital when painting to ensure safety and improve the drying process. Open windows and use fans to circulate air, reducing the concentration of fumes and promoting faster drying. Adequate ventilation not only protects your health but also contributes to a smoother and more efficient painting process, ultimately enhancing the quality of your work.
Conclusion
Preparing a wall for paint is a crucial step that can greatly affect the outcome of your painting project. By following these steps, you'll ensure a smooth and even finish that will enhance the beauty of your home. Whether you're dealing with a freshly stripped wallpapered wall or a previously painted surface, proper preparation is key to achieving professional results. Happy painting!
Achieving Professional-Looking Results
By meticulously preparing your wall, you set the stage for a professional-looking paint job. Each step, from cleaning and repairing to sanding and priming, plays a vital role in ensuring the paint adheres properly and looks flawless. This comprehensive approach not only enhances the visual appeal of your space but also contributes to the durability and longevity of the paint, making your efforts worthwhile.
Transforming Your Space
Painting is a transformative process that breathes new life into a room. With careful preparation, you can achieve a stunning finish that elevates the ambiance of your space. Whether you're refreshing a single room or undertaking a larger project, the time and effort invested in preparation will pay off in the form of a beautiful and inviting environment.
Embracing the Painting Journey
The journey to a perfectly painted wall involves patience, attention to detail, and a commitment to quality. Embrace each step as an opportunity to enhance your skills and enjoy the satisfaction of a job well done. With the right preparation and execution, your painting project will not only meet but exceed your expectations, leaving you with a space you'll love for years to come.


Comments