Can You Paint Laminate Cabinets?
- Staff Desk
- Jun 19
- 1 min read

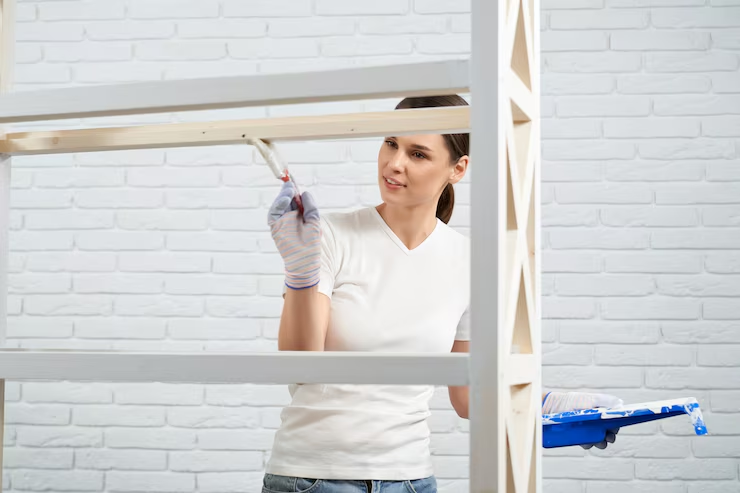
Painting laminate cabinets is a cost-effective way to refresh and update your kitchen without the expense of a full remodel. Laminate surfaces, while durable and easy to clean, can become outdated or worn over time. This guide will walk you through everything you need to know about painting laminate cabinets, from preparation to the final coat, and address common questions about the process.
Why Paint Laminate Cabinets?

Laminate cabinets are popular in many homes due to their affordability and easy maintenance. However, as tastes change, you might find yourself wanting a new look. Painting laminate cabinets is an excellent solution because:
Cost-Effective
One of the primary reasons homeowners opt to paint their laminate cabinets is the cost savings. Replacing cabinets can be incredibly expensive, often accounting for a significant portion of a kitchen remodel budget. By choosing to paint, you can save thousands of dollars. Moreover, the money saved can be invested in other areas of your home that might need attention.
Customizable
Painting offers an unparalleled level of customization. Unlike replacement options that may limit you to available finishes and colors, painting lets you choose virtually any hue under the sun. This flexibility allows homeowners to match their cabinets to existing décor or to set a new tone for their kitchen space. Whether you're aiming for a bold, modern look or a subtle, classic aesthetic, paint provides the solution.
Quick Update
Time is often a constraint for busy homeowners. Full kitchen renovations can be disruptive and lengthy. Painting laminate cabinets, on the other hand, is a relatively quick process. With thorough preparation and efficient execution, you can achieve a transformed kitchen look in just a few days. This means less downtime and inconvenience, allowing you to enjoy your revamped space sooner.
Can You Paint Over Laminate Cabinets?

Yes, you can paint over laminate cabinets, but it requires the right preparation and materials. Laminate is a non-porous surface, which means paint doesn't adhere to it as easily as it does to wood. However, with proper preparation, painting laminate can yield beautiful results.
Preparing Your Cabinets
The key to successfully painting laminate cabinets is in the preparation. Here's how you can do it:
Remove the Doors and Hardware
Begin by carefully removing all cabinet doors and drawers. This step ensures that you can access every part of the cabinet surface. Additionally, take off any handles, knobs, or other hardware to prevent them from getting in the way or becoming accidentally painted. Storing these parts in labeled bags can help keep everything organized for reassembly.
Clean Thoroughly
Laminate surfaces in kitchens often accumulate a layer of grease and grime over time, which can hinder paint adhesion. Use a strong degreasing cleaner and a sponge to scrub every surface thoroughly. Don't forget the edges and corners where residue tends to hide. After cleaning, wipe down the surfaces with a damp cloth to remove any cleaner residue.
Sand the Surface
Sanding is a crucial step as it helps create a texture on the laminate surface for the primer to grip onto. Use 120-grit sandpaper and sand evenly across all surfaces. Focus on creating a uniformly roughened texture without stripping the laminate entirely. After sanding, use a vacuum or tack cloth to remove all dust particles.
Repair Any Damage
Inspect your cabinets for any chips, scratches, or dents. These imperfections can affect the final finish if not addressed. Use a laminate repair filler to patch up any damage. Apply the filler with a putty knife, smoothing it over the imperfections. Allow it to dry completely, and then sand it down to ensure a smooth, even surface.
Priming Your Cabinets
Primer is essential when painting laminate. It provides a surface for the paint to adhere to, ensuring durability and even coverage.
Choose the Right Primer
Select a high-quality bonding primer designed specifically for laminate surfaces. These primers contain special adhesives that help them stick to non-porous materials like laminate. Investing in a good primer is crucial, as it forms the foundation for the paint and can significantly impact the longevity of the finish.
Apply the Primer
Using a brush or roller, apply a thin, even coat of primer to all cabinet surfaces. Pay special attention to areas that are likely to experience more wear, such as around handles and edges. Allow the primer to dry completely, which usually takes several hours. Some situations might require a second coat to ensure full coverage and better adhesion.
Test for Adhesion
Before proceeding to paint, it's wise to test the primer's adhesion. Once the primer has dried, lightly scratch a small, inconspicuous area with your fingernail. If the primer comes off easily, it may require additional sanding or another coat. Ensuring the primer has adhered properly can save time and effort in the long run.
Painting Laminate Cabinets

Once your cabinets are primed, it's time to paint. The type of paint you choose will affect the finish and longevity of your cabinets.
Selecting the Right Paint
For laminate cabinets, you should use a high-quality acrylic latex paint or a paint specifically designed for cabinets. These paints are durable and easy to clean.
Acrylic Latex Paint
Acrylic latex paint is a popular choice for laminate cabinets due to its durability and ease of use. This type of paint offers a smooth finish and is resistant to chipping and peeling. It's also water-based, which makes it easier to clean up with soap and water.
Specialty Cabinet Paints
Consider using paints specifically formulated for cabinets, which often include additional bonding agents for better adhesion to laminate surfaces. These paints might cost a bit more but offer improved durability and a professional finish. They also come in various finishes, from matte to high-gloss, allowing you to customize the look of your cabinets.
Color Selection
When choosing a color, consider the overall style and palette of your kitchen. Neutral colors like whites, grays, and beiges are timeless and versatile. However, if you're feeling adventurous, bold colors like navy blue or forest green can make a striking statement. Whatever you choose, ensure it complements your kitchen's other elements.
Painting Techniques
Use a Brush and Roller
For the best results, use a combination of a brush and roller. A brush is ideal for cutting in around edges and corners, ensuring that paint reaches every nook and cranny. A roller, on the other hand, is perfect for larger, flat surfaces and helps achieve a smooth, even coverage. Opt for a foam roller to minimize roller marks.
Apply Multiple Coats
Applying multiple coats of paint is essential for achieving a durable finish. Two to three coats are typically sufficient, but the number may vary depending on the paint color and brand. Lightly sanding between coats with fine-grit sandpaper can help create an ultra-smooth surface and improve the final appearance.
Ensure Proper Drying
Allow each coat of paint to dry completely before applying the next. This drying time prevents smudging and ensures the layers bond properly. Depending on the paint type and environmental conditions, this can take anywhere from a few hours to a full day. Patience during this phase will pay off in the final result.
Finishing Touches

After painting, you can add a clear topcoat for extra durability. A clear polyurethane or polycrylic finish will protect your cabinets from scratches and moisture.
Apply a Topcoat
Applying a clear topcoat can significantly extend the life of your painted cabinets. Choose between polyurethane or polycrylic based on your needs. Polyurethane offers a harder finish and is more resistant to heat, while polycrylic is less odorous and easier to clean up. Apply the topcoat with a clean brush, following the wood grain for a seamless finish.
Reassemble Your Cabinets
Once the paint and topcoat are fully dry, usually after 24-48 hours, you can start reassembling your cabinets. Carefully reattach the doors and hardware, ensuring everything is aligned correctly. If you’ve opted for new hardware, this is the perfect time to install it, adding a fresh touch to the overall look.
Consider New Hardware
Changing the hardware can further enhance the transformation of your cabinets. Consider updating old knobs and handles with modern or stylish alternatives. Choose hardware that complements your new cabinet color and overall kitchen aesthetic. This simple change can make a significant impact on the overall look of your kitchen.
Conclusion
Painting laminate cabinets is a practical and affordable way to modernize your kitchen. With careful preparation and the right materials, you can achieve a professional-looking finish that revitalizes your space. Whether you're updating your kitchen for personal satisfaction or preparing your home for sale, painting laminate cabinets is a project worth considering. Enjoy the transformation and the satisfaction of a DIY job well done!
Embrace the DIY Spirit
Taking on a project like painting your cabinets empowers you with a sense of accomplishment and pride. It allows you to express your personal style and creativity, transforming your kitchen into a space that truly reflects your taste. Embrace the process, learn from any challenges, and enjoy the rewarding outcome of your efforts.
Share Your Success
Once your cabinets are beautifully painted, consider sharing your project with others. Whether through social media or home improvement forums, your experience can inspire others looking to undertake a similar transformation. Sharing before and after photos can also provide a visual testament to the power of paint and creativity.
Continue Exploring Home Improvements
Painting your cabinets might just be the beginning of your home improvement journey. Use the skills and confidence gained from this project to tackle other areas in your home. From repainting walls to refurbishing furniture, the possibilities are endless. Each new project brings the opportunity to enhance your living environment and hone your DIY skills.


Comments