How to Resurface an Old Asphalt Driveway
- DreamDen AI Editorial Team
- Dec 6, 2025
- 7 min read

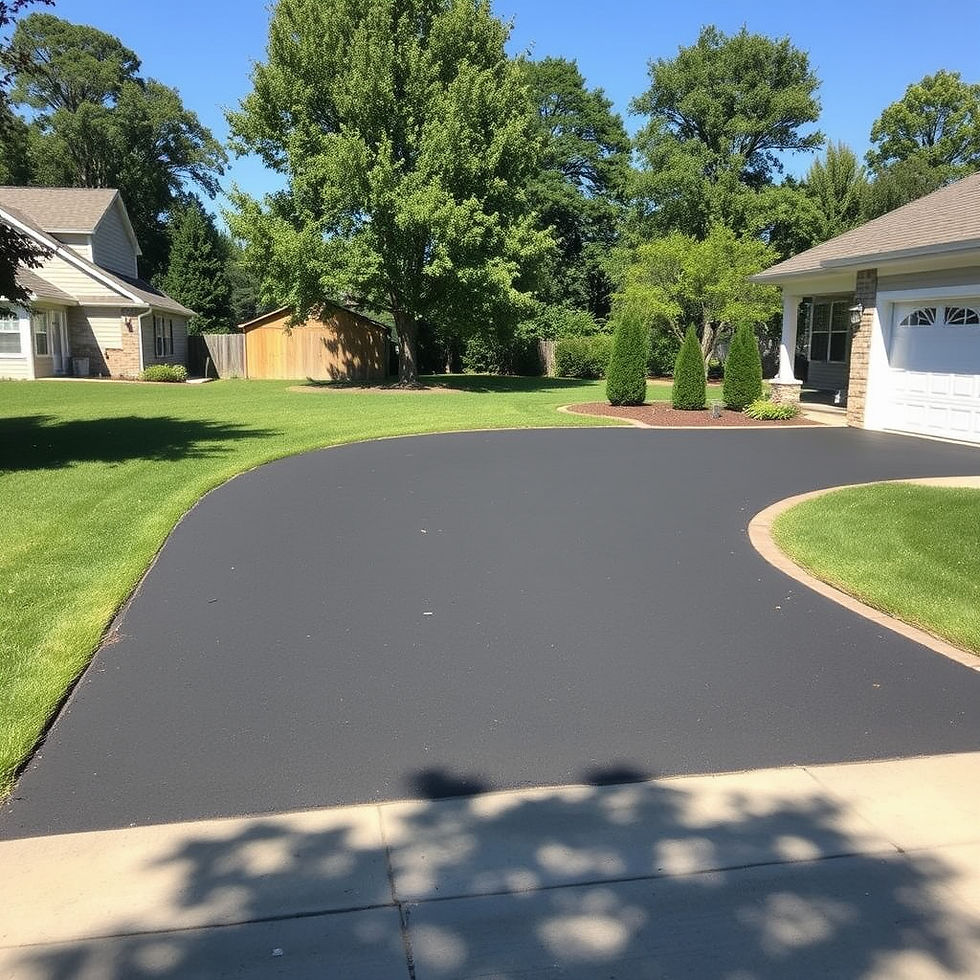
Asphalt driveways age over time. Sun, water, traffic, dirt and vegetation slowly break down the surface, causing cracks, holes and faded color. Full replacement is not always necessary. In many cases, resurfacing and sealcoating can restore appearance, improve performance and extend the life of the driveway.
1. Understand the Purpose of Sealcoating
Sealcoating serves two main purposes:
Protection
Helps shield the asphalt from UV rays, moisture and chemicals.
Reduces further oxidation and slows deterioration.
Cosmetic improvement
Restores a uniform black finish.
Makes an older driveway look cleaner and more defined.
On very old asphalt, sealcoating is often more cosmetic than structural. It does not rebuild a failing base or repair deep structural damage, but it can extend the usable life of the surface and improve appearance when combined with good crack and hole repair.
2. Vegetation Control: Kill Weeds and Grass First
Vegetation interferes with adhesion and allows water to penetrate the surface. It must be dealt with before any repair or sealing.
Steps:
Apply weed killer
Use a broad-spectrum herbicide (for example, a glyphosate-based product).
Spray along cracks, edges and any vegetation growing through the asphalt.
Ideally, apply this a week or two before resurfacing so the plants die back and dry out.
Trim remaining growth
After the herbicide has had time to work, use a string trimmer (weed eater) to cut down any remaining plants.
Focus on anything above the surface that could interfere with tools or sealer.
Vegetation should be dead, dry and trimmed low before moving on. Small roots left below the surface are less critical than live growth above or at the surface.
3. Reclaim the Edges and Remove Encroaching Dirt
Over time, soil and grass creep over the edges of an asphalt driveway. This narrows the visible surface and traps moisture and debris.
Edge cleaning steps:
Use an edging tool, flat shovel or scraper to cut back the soil where it has grown over the asphalt.
Scrape away dirt that has built up along the sides.
Remove loose chunks of gravel and debris at the entrance where the driveway meets a road or lane.
The goal is to expose as much of the original asphalt as possible so sealer bonds to pavement, not dirt. This also creates a sharper visual edge once sealing is complete.
4. Dry Cleaning: Blowing and Sweeping the Surface
Loose material prevents proper bonding. Before washing, remove as much dry debris as possible.
Tools commonly used:
Leaf blower
Stiff push broom
Hand broom for tight areas
Process:
Blow or sweep away leaves, dust, loose gravel and organic material.
Pay special attention to cracks and low spots where dirt collects.
Clear the ends of the driveway where road gravel and chip-seal material tend to accumulate.
This step should be thorough. The cleaner the surface before washing, the easier the remaining preparation becomes.
5. Wash and Clean Cracks Without Destabilizing the Surface
Cracks and edges need to be clean so crack filler and sealer can adhere to asphalt, not soil.
A garden hose and leaf blower can be used instead of a pressure washer to avoid dislodging loose asphalt pieces.
Recommended approach:
Rinse with a garden hose
Run water into cracks and across the surface to loosen embedded dirt.
Avoid aggressive high-pressure jets directly under weak areas to prevent washing out the base.
Clean cracks to a practical depth
Aim to remove loose dirt to about 6 mm–10 mm (around 1/4 inch) deep.
The goal is a clean bond surface, not deep excavation.
Blow off water and loosened debris
Use the leaf blower to push out water and remaining fine debris.
This speeds drying and gives more control than just rinsing and waiting.
Once complete, the driveway should be free of loose debris and allowed to dry completely before filling cracks or applying sealer.
6. Repair Holes and Larger Defects
Significant holes should be filled before sealcoating. Cold-patch asphalt repair products are commonly used for this purpose.
Steps for hole repair:
Sweep or blow the hole clean.
If the hole is deeper than recommended, add some compacted stone base first.
Pour cold-patch asphalt repair material into the hole.
Spread it evenly and compact it firmly using a hand tamper or similar tool.
Add more material and tamp again until the patch is level with the surrounding surface.
The goal is to remove deep depressions that would collect water or fail under traffic. Sealcoating is not a substitute for proper patching.
7. Fill Major Cracks Before Sealcoating
Crack filling helps prevent water penetration and provides a smoother base for the sealer.
Materials:
Pourable or trowel-grade asphalt crack filler in 1-gallon jugs or similar containers.
Process:
Ensure cracks are dry and as clean as possible.
Cut the tip of the crack filler bottle to produce a controlled bead.
Start with the widest cracks and work down to smaller ones.
Fill each crack so the material slightly crowns above the surface, then settles.
Not every tiny crack must be filled. The sealer will help fill smaller hairline cracks. Focus on larger or deeper cracks first to maximize the benefit of the available crack filler.
After crack filling, allow the material to cure as specified on the product label before moving on to sealing.
8. Final Cleaning Before Sealing
Time may pass between crack filling and sealcoating. Passing vehicles, wind and nearby gravel or dirt roads can introduce new dust.
Just before sealing:
Use the leaf blower again to remove fresh dust and debris.
Confirm that filler and patch materials have cured and that the surface is dry.
A clean, dry surface is essential for good sealer adhesion.
9. Selecting an Asphalt Sealer
Driveway sealers are available in different grades, often labeled by expected lifespan (for example, 1-year, 3-year or 5-year products).
General guidelines:
Avoid the very cheapest formulas with the shortest advertised lifespan.
A mid- to higher-grade “5-year” sealer usually offers better filling, durability and appearance.
Choose a reputable brand designed for residential asphalt driveways.
The choice of sealer affects how well fine cracks are filled and how long the fresh appearance lasts.
10. Tools and Safety Before Application
Sealcoating is messy. Proper clothing and tools make the job more manageable.
Clothing and safety:
Wear old pants and shoes that can be permanently stained.
Use gloves and eye protection, especially when mixing.
Avoid good clothing or anything that should not be damaged.
Tools:
5-gallon pails of asphalt sealer
Electric corded drill (with substantial power)
Mud-mixer style paddle for mixing
Squeegee or brush designed for asphalt sealer
Smaller brush for detailed edge work
A variable-speed or two-speed drill helps control splatter when mixing. Mixing is best done on the driveway itself to keep spills off finished surfaces.
11. Mixing the Sealer Properly
Sealer separates in the bucket during storage. Proper mixing is essential.
Steps:
Place the bucket on an area of the driveway that will be coated.
Insert the mixing paddle fully into the sealer before starting the drill.
Use a slow speed at first to avoid splashing.
Mix until the sealer is uniform with no visible separation.
Mixing should be repeated occasionally if a bucket sits for a long time during application.
12. Plan the Application Pattern
Before pouring sealer, plan the path:
Identify a starting point and an exit point so freshly sealed areas do not need to be crossed.
Reserve a small area as a mixing station until it is time to coat it.
Consider working in logical sections, such as the main body of the driveway first and smaller offshoots later.
This planning reduces the chance of stepping in wet sealer or missing areas.
13. Cutting in Edges and Protecting Adjacent Surfaces
Where asphalt meets concrete patios, steps, or other sensitive edges, more careful application is needed.
Edge handling:
Use a brush to “cut in” along edges where sealer should not spill onto concrete or structures.
Apply controlled, careful strokes to create a neat line.
For broken, crumbling edges, brushing a thin layer of sealer onto exposed pieces improves appearance without wasting product in voids.
This produces a crisp boundary and a more professional finish.
14. Applying the Sealer Across the Main Surface
Once edges are handled, the main field of the driveway can be coated.
Technique with a squeegee:
Pour a small amount of sealer onto the surface in front of the work area.
Use the squeegee to pull the sealer across the asphalt, maintaining a consistent “puddle” of material.
Allow the puddle to flow into cracks and low spots as it is drawn along.
Work in strips, overlapping slightly to avoid missed areas.
Adjust the amount of sealer if coverage looks too thin or thick.
Keeping a good puddle ahead of the squeegee helps fill cracks more effectively than trying to spread a very thin film.
If lighter patches appear due to pulling too fast or stretching material too far, additional sealer can be applied while the surface is still workable.
15. Dealing with Imperfect Areas
Old driveways often have broken edges, minor vegetation or small voids that do not justify heavy patching.
Suggested approach:
Use the brush side of the tool or a separate hand brush on fragile edges.
“Paint” these edges with sealer for better appearance while avoiding filling voids that contain dirt or trapped debris.
Accept that missed weeds or minor imperfections may remain visible but will not significantly affect function.
The goal is not perfection on structurally failing edges but a cleaner, darker and more uniform appearance overall.
16. Second Passes and Using Remaining Material
After the entire driveway has been coated once:
Inspect for light areas where the asphalt still shows through more than desired.
If extra buckets of sealer remain, concentrate additional material on the main high-visibility or high-traffic areas.
Use remaining sealer to improve coverage consistency rather than storing it long-term.
A slightly heavier coat in central areas can enhance durability and appearance.
17. Curing and Weather Considerations
Weather heavily affects sealcoating success.
Basic guidelines:
Choose a dry day with no rain forecast until after the sealer has cured as specified by the manufacturer.
Avoid extremely cold conditions that slow curing.
Wind can help the surface dry more quickly but may blow dust; this is why final cleaning before application is important.
Traffic should be kept off the sealed driveway until it is fully cured to prevent tracking and damage.
18. Key Principles for a Successful Resurfacing Job
The quality of the result largely depends on preparation and material handling:
Thorough cleaning
Remove vegetation, dirt and loose material.
Clean and dry cracks before filling.
Proper crack and hole repair
Fill significant defects before sealcoating.
Do not rely on sealer to fix structural problems.
Use of quality sealer
Select a mid- to high-grade product with a longer advertised life.
Mix thoroughly and apply at recommended coverage rates.
Consistent application technique
Maintain a controlled puddle of sealer.
Work in planned sections and protect edges.
Favorable weather and curing time
Schedule work when rain is not imminent.
Allow sufficient drying time before use.
When these principles are followed, even an older asphalt driveway can gain several additional years of service life and a significantly improved appearance through resurfacing and sealcoating.


Comments