Simple DIY Tips to Spot and Repair Minor AC Problems
- DreamDen AI Editorial Team
- Jul 27, 2025
- 4 min read

When the summer heat strikes, there’s nothing more frustrating than an air conditioner that isn’t performing at its best. While many homeowners may panic and call a professional at the first sign of trouble, there are plenty of minor AC problems that you can easily identify and fix yourself. This can save you money, and it can prevent a small issue from becoming a costly repair later. With the right approach, basic tools, and a little knowledge, you can become more confident in handling simple air conditioning issues. Here are six practical DIY tips to help you spot and repair minor AC problems before they escalate.

Check and Replace the Air Filter Regularly
One of the most common causes of AC inefficiency is a dirty or clogged air filter. Dust, pet hair, and other debris can accumulate on the filter, blocking airflow and forcing the unit to work harder than necessary. This reduces cooling performance and increases energy consumption. Luckily, checking and replacing an air filter is one of the easiest DIY tasks. Simply locate the filter, usually found behind a return air grille or inside the furnace or air handler cabinet, slide it out, and inspect it. If it looks dirty or hasn’t been changed in one to three months, replace it with a new one.
Inspect the Thermostat for Proper Function
A thermostat that isn’t working properly can easily throw off your entire cooling system. If your home feels warmer than it should, start by checking that the thermostat is set to “cool” and that the temperature is set correctly. Replace the batteries if needed and ensure the wiring is secure. In some cases, the issue may be more complex, involving faulty sensors or internal settings. Many homeowners in need of AC repair Dallas TX services discover that the thermostat was the root of the issue after a professional evaluation. If you're unable to identify or fix the problem on your own, it's best to contact a certified technician to avoid further complications.
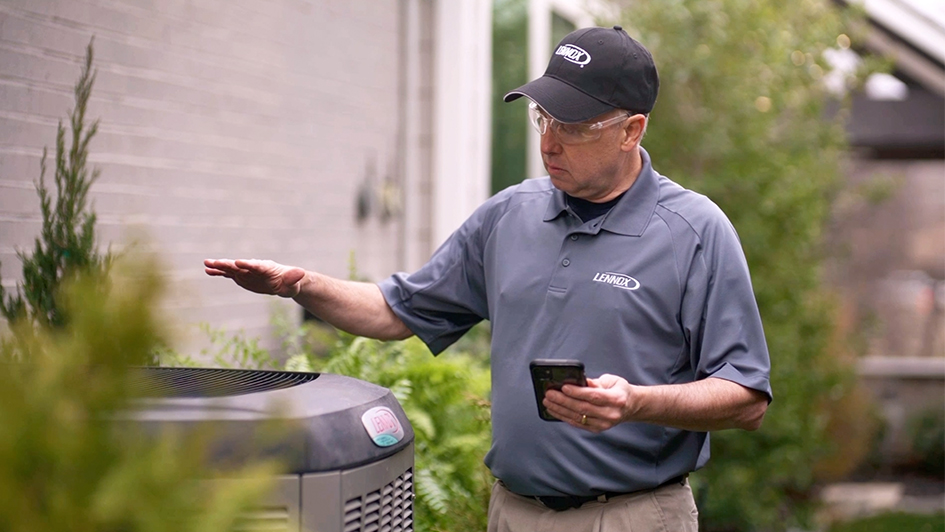
Clear Debris from the Outdoor Condenser Unit
Your AC’s outdoor condenser unit needs adequate airflow to function correctly, but it often becomes surrounded by leaves, dirt, and grass clippings. If airflow is obstructed, the system can overheat or lose efficiency. To address this, turn off the power to the unit and inspect the area around the condenser. Remove any visible debris and use a garden hose to gently wash away dirt from the metal fins. Be careful not to bend the fins; if they appear damaged, a fin comb can help straighten them. Keeping the condenser clean and clear of obstructions ensures your system works more efficiently and avoids unnecessary strain.
Unclog the Condensate Drain Line
Air conditioners remove moisture from the air as part of the cooling process, and this water drains away through a condensate line. Algae, mold, or debris can clog this line, leading to water leaks or system shutdowns. You can locate the drain line, usually a PVC pipe, near the indoor unit and inspect it for clogs. One easy method to clear a clog is by using a wet/dry vacuum to suck out the blockage from the drain line outside your home. You can pour a solution of vinegar and water into the line to help break down the buildup. Regular maintenance of the drain line can prevent leaks and water damage.
Listen for Unusual Noises or Vibrations
Your AC system will make some normal operational noises, but loud bangs, rattles, or humming could indicate a problem. These noises can be a result of loose parts, debris in the fan, or even a worn-out motor. If you hear rattling, turn off the power and inspect the unit’s screws, panels, and fan blades. Tightening loose screws and securing panels can often stop these sounds. If the fan blades appear dirty or unbalanced, a careful cleaning can help. If the noises persist or grow worse, it could point to a mechanical issue that may require professional attention.
Check for Refrigerant Line Issues
The refrigerant lines that run between the indoor and outdoor units should be properly insulated and free from visible damage. If you notice frost buildup on the lines or around the evaporator coil, it may indicate a refrigerant leak or poor airflow. Although adding refrigerant should only be done by a licensed technician, you can still spot signs of trouble and take appropriate DIY steps. Make sure the insulation around the lines is intact, as replacing damaged insulation sleeves is simple and inexpensive. Ensure nothing is blocking the air intake inside your home.

Taking care of your AC system doesn’t always require a service call. Many small issues can be handled with some observation and a few DIY tasks, keeping your home cool and your repair bills low. By routinely checking these key components, you’ll improve your air conditioner’s efficiency and extend its lifespan. Always remember: when in doubt, consult a professional, like for refrigerant or electrical issues, but for minor fixes, these simple DIY tips can make all the difference.


Comments